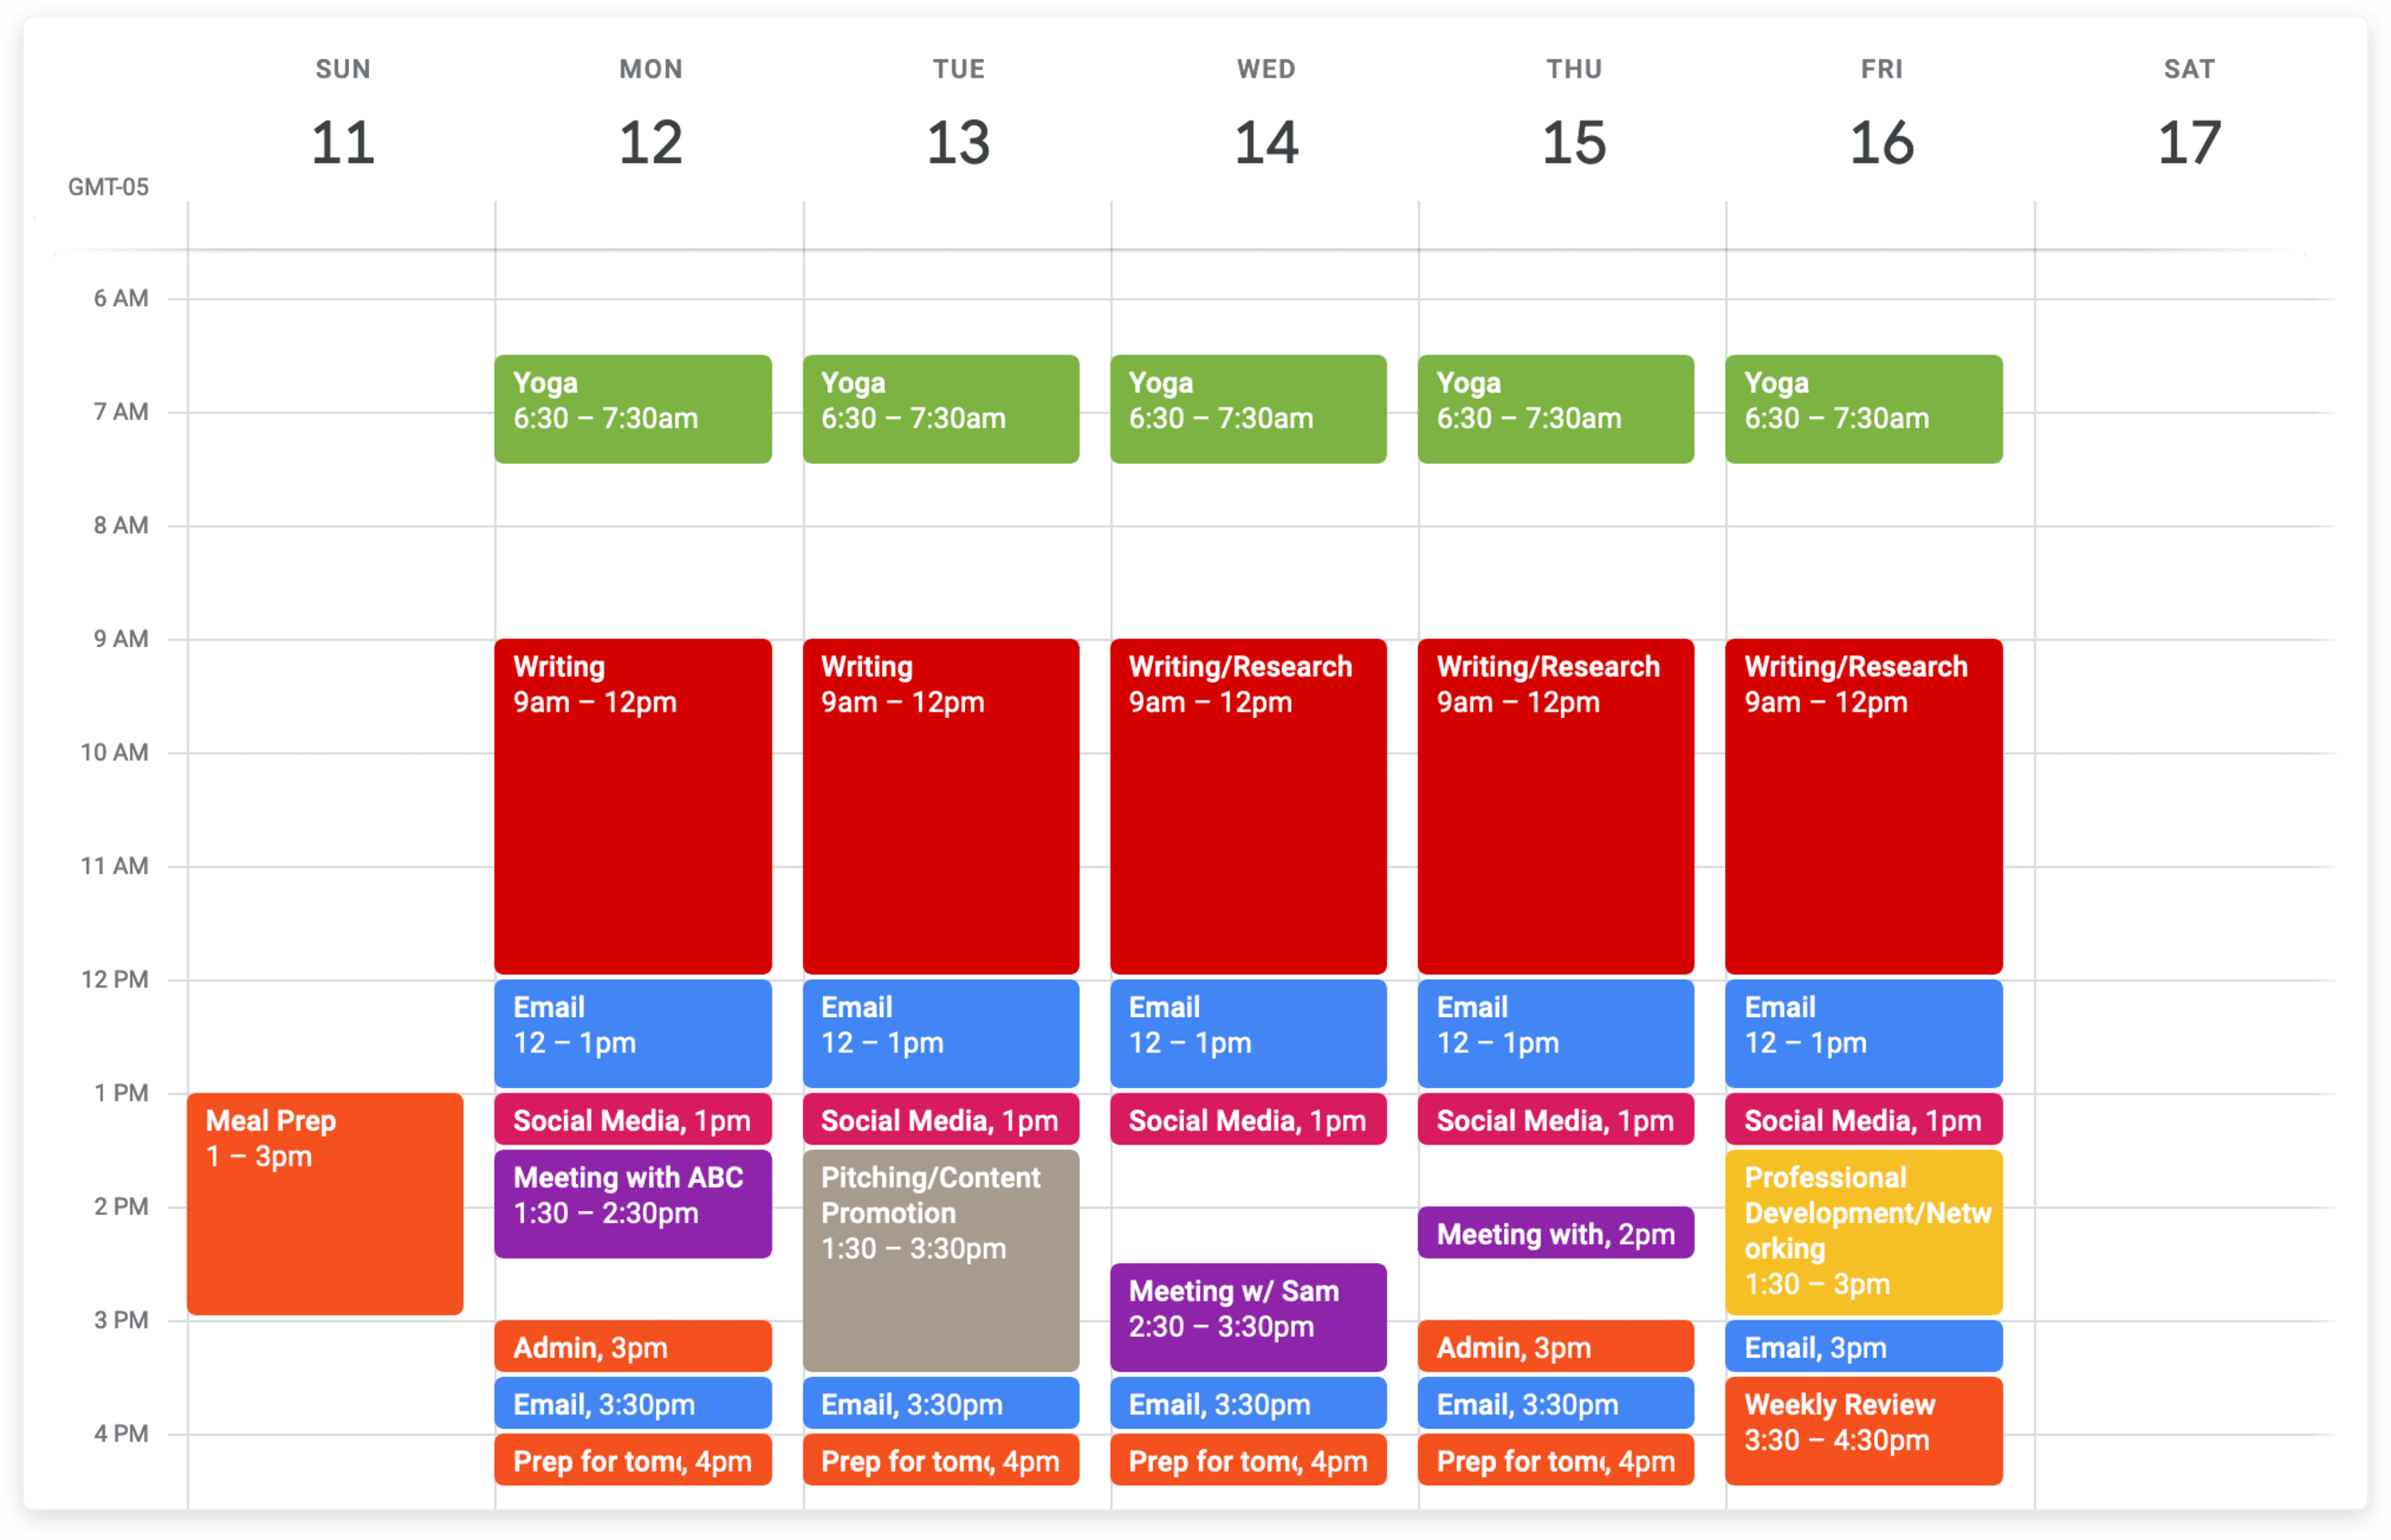
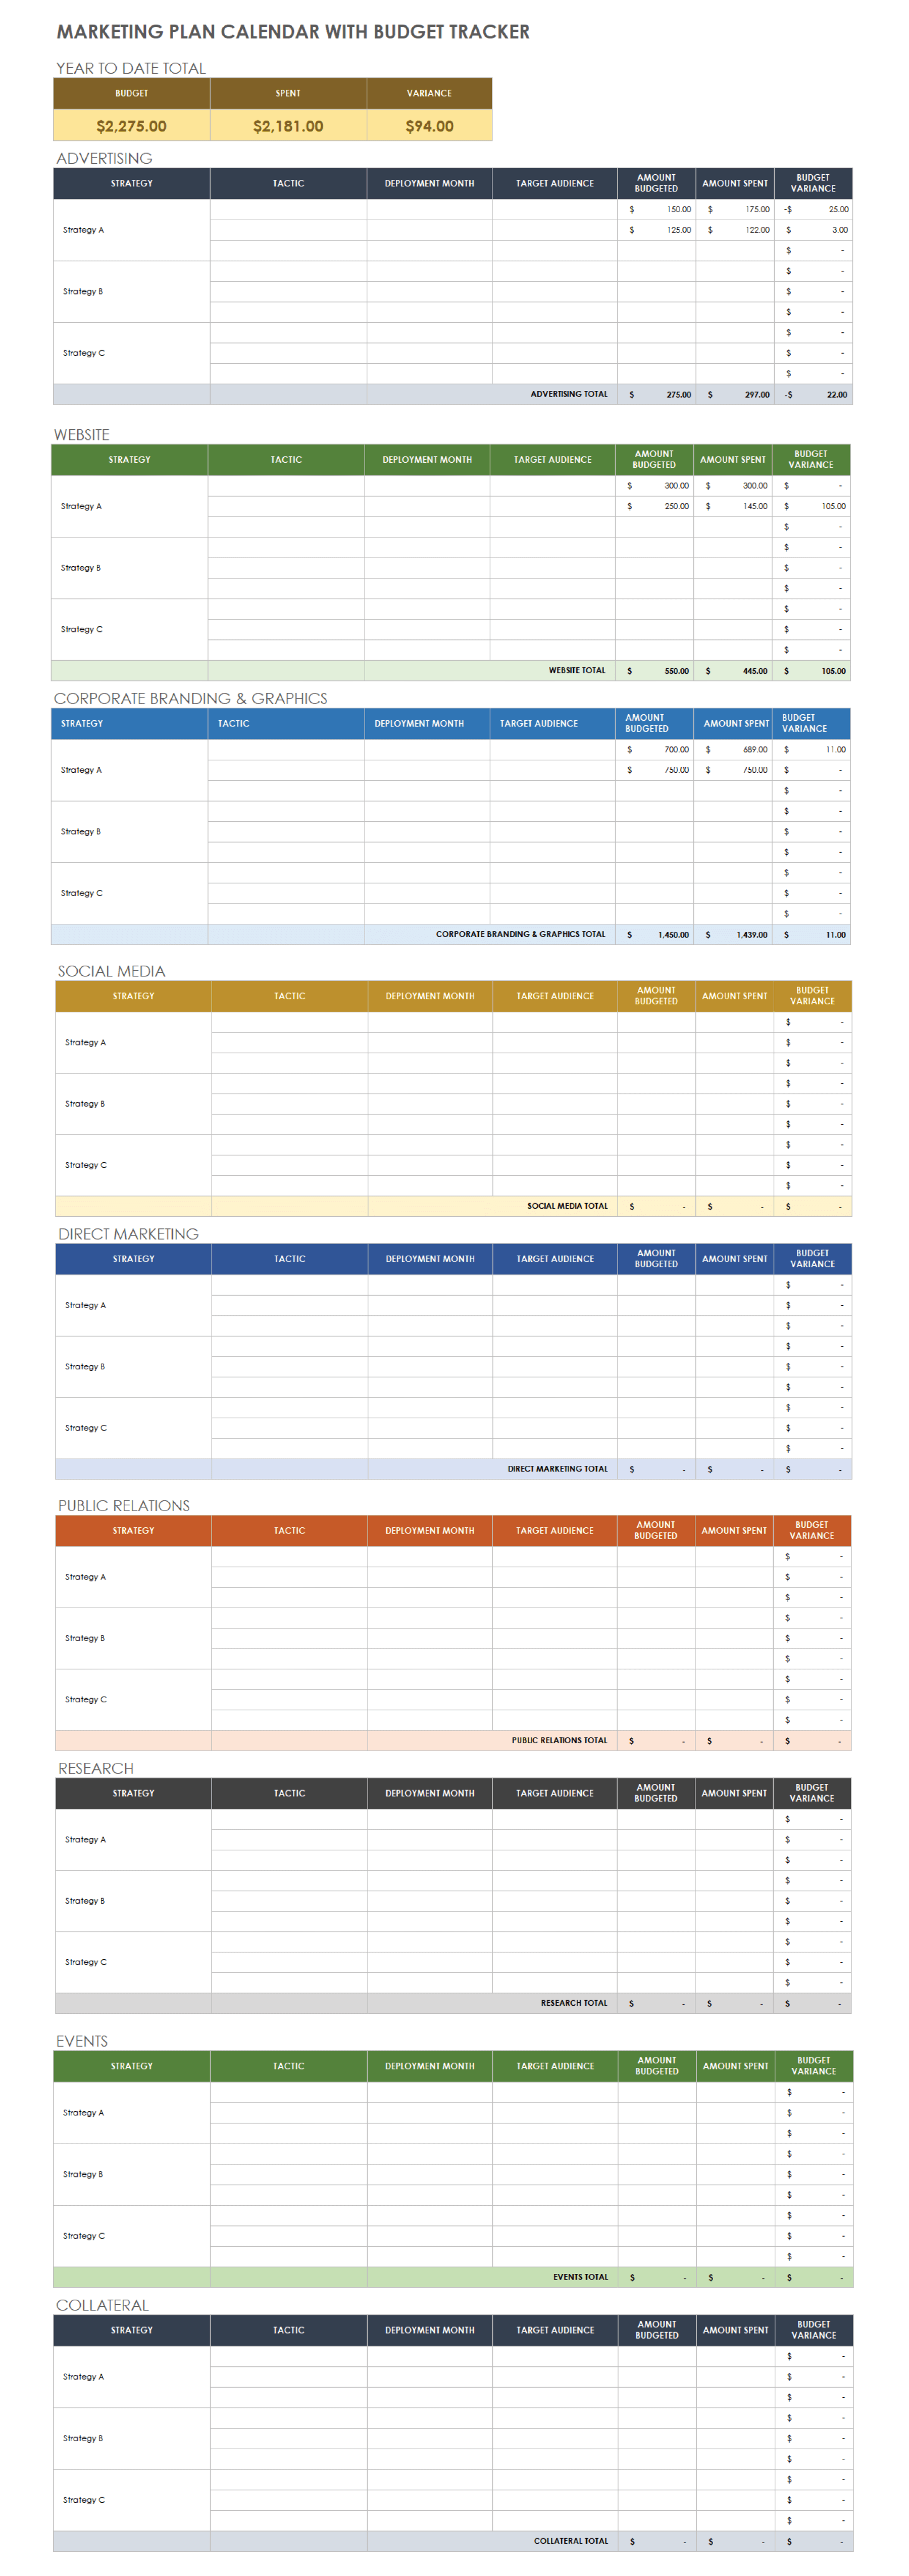
Are you looking to enhance your scheduling skills and maximize your organization efficiency using Google Sheets? Look no further! In this ultimate guide, we will delve into the art of creating a polished schedule on Google Sheets like a pro. Whether you are a student managing your study timetable, a project manager arranging tasks, or simply someone wanting to streamline your daily routine, mastering this tool is invaluable.
By following our step-by-step instructions and tips, you will learn how to make a schedule on Google Sheets that is not only functional but visually appealing. Say goodbye to juggling multiple calendars or struggling with tedious manual updates. Ready to unlock the full potential of Google Sheets for scheduling? Let’s dive in!
Introduction: Exploring the Power of Google Sheets for Scheduling
Google Sheets has become an indispensable tool for professionals seeking an efficient way to manage schedules and timelines. As we delve into how to make a schedule on Google Sheets, we will uncover the vast potential and versatility this platform offers in creating and organizing schedules with ease and precision.
The User-Friendly Interface of Google Sheets
Google Sheets provides a user-friendly interface that simplifies the process of creating and customizing schedules. With intuitive features and functions, even those new to spreadsheet software can quickly adapt and start building schedules effortlessly.
Real-Time Collaboration and Accessibility
One of the standout features of Google Sheets is its ability to facilitate real-time collaboration among team members. This means that multiple individuals can work on the same schedule simultaneously, ensuring everyone is always up to date with the latest changes and updates.
Automation and Integration
Google Sheets offers a range of automation tools and integration options that streamline the scheduling process. From automated formulas to add-ons that enhance functionality, users can optimize their scheduling tasks and boost productivity.

Getting Started: Setting Up Your Spreadsheet in Google Sheets
Creating a detailed schedule in Google Sheets is a breeze with its array of functions and features. To begin, open Google Sheets and start a new spreadsheet for your schedule.
Organizing Columns and Rows
Start by labeling your columns with important headers like “Date,” “Time,” “Activity,” and “Notes.” Then, organize your rows for each entry you plan to include in the schedule.
You can use bold formatting for headers to make them stand out.
Formatting Cells
Customize the cells to format date and time entries correctly. Use the format options in Google Sheets to set the date and time in a way that suits your schedule.
- Click on the cell or range of cells you want to format
- Select “Format” from the menu bar
- Choose “Number” and then select the appropriate date or time format
Designing Your Schedule: Formatting Tips and Tricks
When it comes to creating a schedule on Google Sheets, proper formatting is key to enhancing visual appeal and usability. Follow these tips and tricks to design a schedule that is both functional and aesthetically pleasing.
Color Coding Sections
Assigning different colors to various sections of your schedule can help in quickly identifying and distinguishing between different tasks or categories. Use the Fill Color tool in Google Sheets to highlight important information.
Applying Conditional Formatting
Utilize the Conditional Formatting feature in Google Sheets to automatically format cells based on certain criteria. This can help you quickly spot conflicts or overdue tasks by setting up specific rules.
Utilizing Borders and Gridlines
Adding borders around cells and gridlines can make your schedule more organized and visually appealing. Use the Border Options in Google Sheets to customize borders and enhance readability.

Adding Data: Inputting Your Schedule Information
When creating a schedule on Google Sheets, inputting your schedule information accurately is crucial. To start, open a new spreadsheet on Google Sheets and label the columns with the necessary information like date, time, task, etc.
Inputting Date and Time
Begin by entering the date in the first column and the corresponding time in the next column. Use the proper date and time format to ensure clarity and avoid any confusion.
For example, inputting date in DD/MM/YYYY format and time in HH:MM AM/PM format would be ideal for better organization.
Adding Tasks and Descriptions
After inputting the date and time, include the tasks or events in the following columns. Provide detailed descriptions if needed to understand the purpose of each task.
Use different colors or styles to highlight important tasks or categorize them based on priority to make it visually appealing.
Creating Formulas: Automating Calculations and Time Management
When it comes to making a schedule on Google Sheets, creating formulas can be a game-changer. By automating calculations, you can save time and ensure accuracy in your scheduling tasks.
Automating Calculations with Formulas
Formulas in Google Sheets allow you to perform complex calculations effortlessly. By utilizing functions like SUM, AVERAGE, and IF, you can streamline your schedule creation process.
For instance, using the =SUM formula, you can quickly add up the total hours worked in a week, simplifying time tracking and management.
Optimizing Time Management
By automating repetitive tasks through formulas, you free up valuable time to focus on more strategic aspects of your schedule. This efficient approach enhances productivity and helps you stay organized.
Moreover, consider using conditional formatting to highlight important deadlines or prioritize tasks based on their urgency.
Customizing Views: Utilizing Filters and Conditional Formatting
Customizing views in Google Sheets is a powerful way to enhance the visual representation of your schedules. By utilizing filters, you can easily manipulate the data displayed based on specific criteria. Conditional formatting, on the other hand, allows you to automatically apply formatting rules based on the content of each cell.
Filters in Google Sheets
Filters enable you to focus on specific data subsets within your schedule. To apply a filter, select the range of cells you want to filter, then go to the “Data” menu and choose “Create a filter.” This will add filter icons to each column header, allowing you to sort and filter your data effortlessly.
You can also customize filters further by setting conditions to show only data meeting certain criteria, helping you quickly identify relevant information.
Conditional Formatting Tips
Conditional formatting is a handy tool for highlighting key data points in your schedule. You can use it to color-code cells based on values, create data bars for visual comparisons, or add icon sets for quick assessments.
For example, you can apply color scales to visualize the distribution of values across your schedule, making it easier to spot trends and outliers at a glance.
Collaboration: Sharing and Editing Your Schedule with Others
When creating a schedule on Google Sheets, collaboration and sharing features are essential for working efficiently with others. With Google Sheets, you can easily share your schedule with team members, clients, or collaborators in real-time.
Sharing Your Schedule
To share your schedule, click on the “Share” button located in the top-right corner of your Google Sheets document. You can then enter the email addresses of the individuals you want to share the schedule with. Collaborators can view, comment, or edit the schedule based on the permissions you set.
Real-Time Editing
One of the key benefits of using Google Sheets for scheduling is the ability to edit the schedule in real-time. This means that any changes made by you or your collaborators are instantly reflected for everyone viewing the document. This feature ensures that everyone is on the same page and working with the most up-to-date information.
Advanced Tips: Maximizing Efficiency and Productivity
When it comes to making the most out of your schedule in Google Sheets, there are several advanced tips you can utilize to enhance your productivity. By incorporating these strategies into your scheduling process, you can effectively manage your time and tasks with precision.
Utilize Conditional Formatting
One powerful feature of Google Sheets is its conditional formatting capabilities. By setting up specific rules, you can automatically highlight important dates, deadlines, or tasks. This visual cue can help you prioritize and focus on critical activities.
Automation with Scripts
Take your scheduling to the next level by automating repetitive tasks with Google Apps Script. You can create custom functions to streamline processes, such as sending email reminders for upcoming events or updating task lists based on specific criteria.
Frequently Asked Questions
- What is Google Sheets?
- Google Sheets is a web-based spreadsheet program offered by Google as part of their Google Drive office suite. It allows users to create and edit spreadsheets online while collaborating with others in real-time.
- Why should I use Google Sheets for scheduling?
- Google Sheets offers a convenient way to create and manage schedules due to its online accessibility, ease of collaboration, and various functions that help in organizing and structuring data effectively.
- How can I create a schedule on Google Sheets?
- To create a schedule on Google Sheets, you can start by opening a new spreadsheet, entering your schedule data, formatting it as needed, and utilizing features like conditional formatting, functions, and templates to enhance the schedule’s functionality and appearance.
- What are some tips for making a schedule on Google Sheets like a pro?
- Some tips for making a schedule on Google Sheets like a pro include using color coding for clarity, incorporating formulas for automated calculations, setting up data validation for accuracy, and utilizing filters for easy data analysis.
- How can I share the schedule created on Google Sheets?
- To share the schedule created on Google Sheets, you can use the ‘Share’ button in Google Sheets to invite collaborators via email or generate a shareable link with view or edit permissions, allowing others to access and work on the schedule.
Final Thoughts
Creating a schedule on Google Sheets like a pro is not as daunting as it may seem. By following the step-by-step guide provided in this blog, you can efficiently organize your tasks, events, and deadlines with ease. Remember to utilize features such as conditional formatting, data validation, and linked cells to enhance the functionality and visual appeal of your schedule. Collaboration is key, so don’t hesitate to share your schedule with team members and stakeholders for seamless coordination. Whether you are a student, professional, or entrepreneur, mastering the art of making a schedule on Google Sheets will undoubtedly boost your productivity and time management skills.
