Are you looking to streamline your social media strategy and save time on posting content on Facebook? Learning how to schedule posts on Facebook can be a game-changer for businesses and individuals alike. In this comprehensive guide, we will walk you through the process of scheduling posts on Facebook step by step. From understanding the benefits of scheduling posts to exploring the various tools and features available, you will be equipped with the knowledge and skills to effectively manage your Facebook content calendar. Stay tuned to discover how you can master the art of scheduling posts on Facebook effortlessly.

Introduction to Scheduling Posts on Facebook
When it comes to optimizing your social media presence, scheduling posts on Facebook can be a game-changer. By strategically planning and automating your content, you can reach your audience at the most optimal times, even when you’re not online. This not only saves time but also helps in maintaining a consistent posting schedule.
Advantages of Scheduled Posts
Scheduling posts allows you to plan ahead and maintain consistency in your social media strategy. You can target specific audiences at different times, increasing engagement levels.
How to Make Scheduled Posts on Facebook
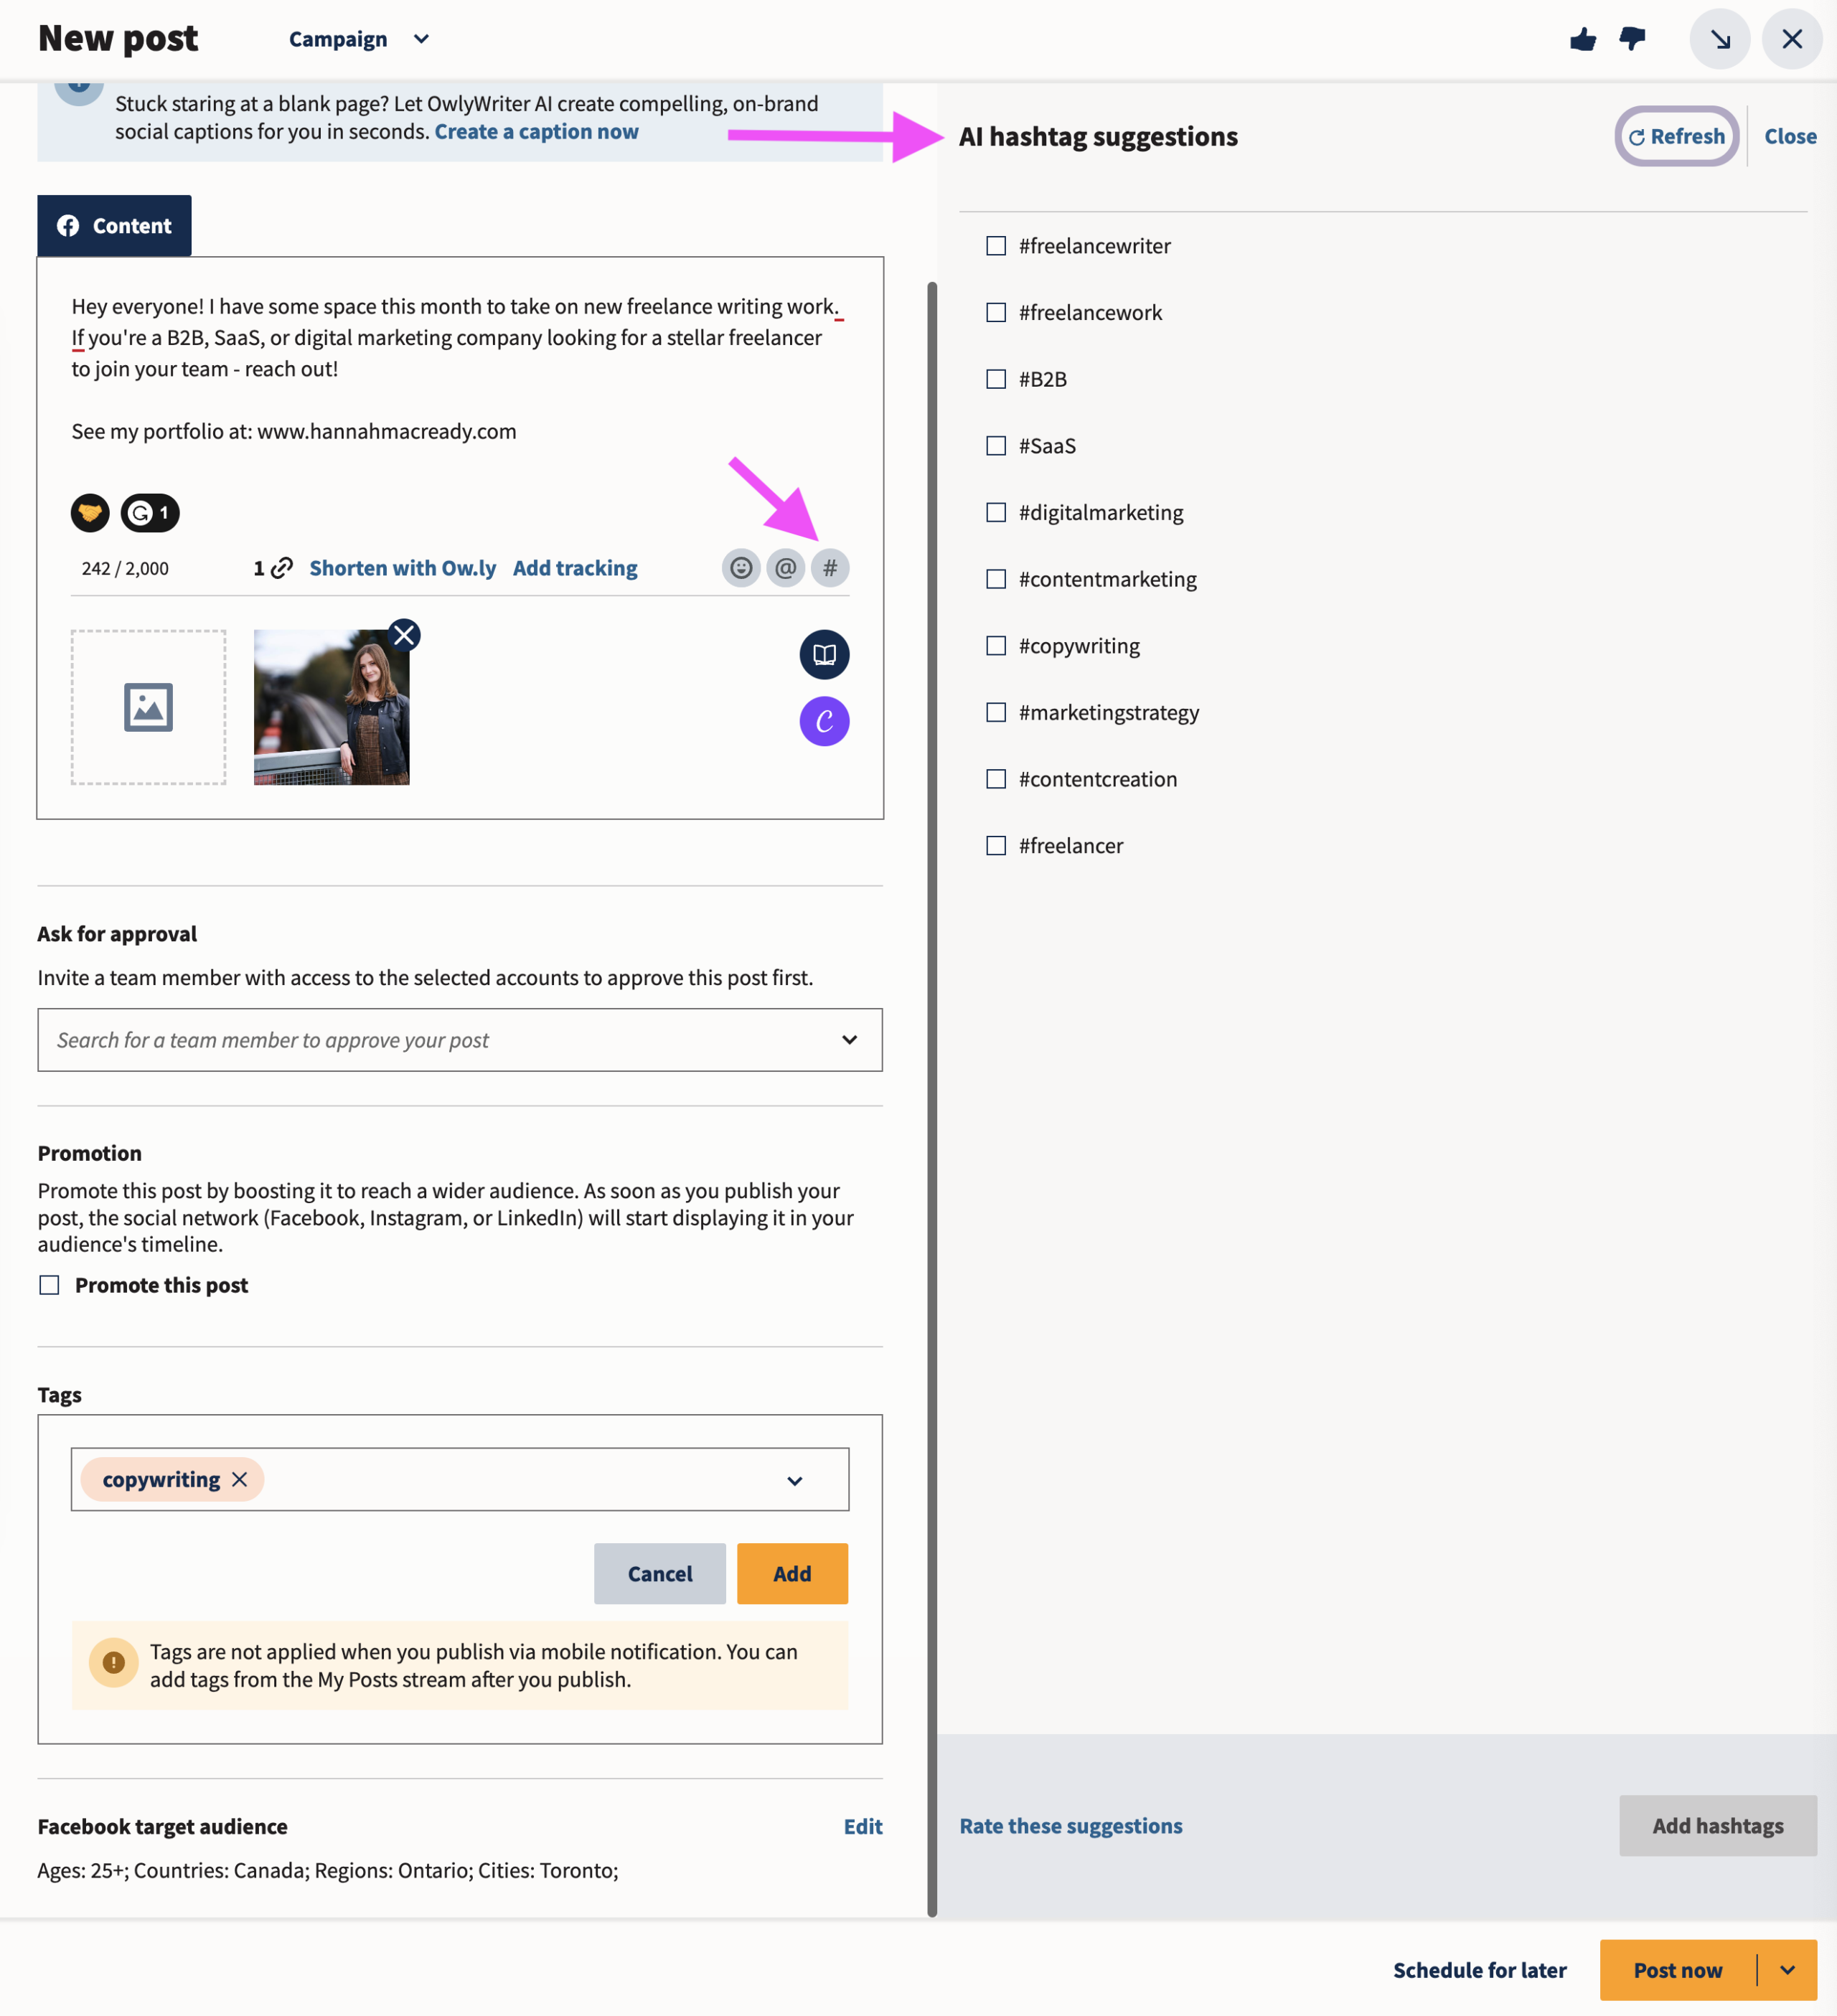
To schedule posts on Facebook, follow these simple steps:
- Compose your post as usual.
- Click on the drop-down arrow next to the “Publish” button.
- Select “Schedule.”
- Choose the date and time for your post to go live.
- Click on “Schedule” to confirm.
Benefits of Post Scheduling for Businesses
Post scheduling on Facebook offers numerous advantages for businesses looking to optimize their social media presence and engagement. By scheduling posts in advance, companies can ensure a consistent flow of content, maintain a regular posting schedule, and reach their target audience at optimal times.
Improved Time Management
Scheduling posts allows businesses to allocate specific time slots for content creation and planning. This helps in better time management, enabling teams to focus on other critical tasks while ensuring a steady stream of posts on social media platforms.
Enhanced Engagement
Strategically scheduling posts based on audience insights and analytics can boost engagement rates. By posting at peak times when the target audience is most active, businesses can increase the reach and visibility of their content, leading to higher interaction and conversion rates.
Understanding the Facebook Scheduler Tool
Facebook Scheduler Tool is a valuable feature that allows users to schedule posts to go live at a specified date and time on their Facebook Page. This feature is particularly useful for businesses and marketers to maintain a consistent posting schedule and reach their target audience at the most optimal times.
Benefits of Using Facebook Scheduler
One of the key benefits of using the Facebook Scheduler Tool is the ability to plan and organize your content in advance. This feature saves time and effort by allowing users to create a batch of posts and schedule them to be published at specific intervals throughout the day or week.
How to Make Scheduled Posts on Facebook
To schedule a post on Facebook, first, navigate to your Facebook Page and create a new post as you normally would. Instead of clicking on “Publish,” click on the drop-down arrow next to it, and select “Schedule.” You can then choose the date and time for your post to go live, and click “Schedule” to confirm.
After scheduling your post, you can view, edit, or delete it by accessing your Page’s Publishing Tools and selecting the “Scheduled Posts” tab.
Step 1: Accessing the Facebook Scheduler
To begin the process of how to make schedule post on Facebook, you first need to log in to your Facebook account. Once you are logged in, navigate to your business page where you want to schedule a post.
Locating the Publishing Tools
On your business page, look for the Publishing Tools tab at the top menu. Click on it to reveal a dropdown menu and select Creative Tools.
Alternatively, you can directly access the Publishing Tools by adding /publishing_tools at the end of your page URL.
Finding the Scheduler
Within the Creative Tools section, locate the Scheduler option on the left-hand side. Click on it to access the Facebook Scheduler tool.
Step 2: Creating a Scheduled Post
After logging into your Facebook account, navigate to your business page where you wish to schedule a post. Click on the “Create Post” button at the top of your page.
Choose Post Type
Facebook offers various post types like text, photo/video, event, or poll. Select the type that best fits your content strategy. Add relevant emojis or hashtags to enhance engagement.
Set Post Schedule
Under the text box, you’ll find a drop-down menu labeled “Share Now.” Click on it and select “Schedule.” Specify the date and time for your post to reach maximum audience engagement.
- Consider posting during peak hours for higher visibility.
- Experiment with posting times to determine what works best for your audience.
Step 3: Customizing Post Settings
Once you’ve set the schedule for your Facebook post, it’s essential to customize post settings to enhance its visibility and engagement. Here are some key aspects to consider:
1. Adding Eye-Catching Visuals
Images play a crucial role in capturing your audience’s attention. Utilize high-quality, relevant images to make your post stand out in feeds. Remember that engaging visuals can significantly improve post reach and interaction.
Incorporate compelling imagery such as infographics or product photos to entice users to stop scrolling and engage with your content.
2. Crafting Captivating Copy
The text you pair with your post is equally important. Write engaging copy that resonates with your target audience. Use a tone and language that align with your brand voice while conveying the message effectively.
- Emphasize key points using bold or italicized text for better readability.
- Include a clear call-to-action to prompt users to interact with your post.
Tips for Effective Post Scheduling on Facebook
When it comes to mastering post scheduling on Facebook in how to make a schedule post on Facebook, there are several key tips to keep in mind for optimal engagement and reach. To begin, understanding your audience’s peak online times is crucial.
Utilize Facebook Insights
Take advantage of Facebook Insights to analyze when your audience is most active on the platform. This data helps you determine the best times to schedule your posts for maximum visibility.
Experiment with Different Posting Times
Don’t be afraid to experiment with various posting times to see what works best for your audience. Testing different time slots can help you identify the optimal schedule for your content.
Consider Time Zones
Take into account the time zones of your target audience to ensure that your posts reach them at the most convenient times. Schedule posts accordingly to cater to different time zones.
Use Scheduling Tools
Make use of scheduling tools like Facebook’s own scheduling feature or third-party apps to plan and automate your posts. This allows you to maintain a consistent posting schedule even when you’re not online.
Engage with Insights Data
Regularly monitor your post performance through Insights data to track which posting times generate the most engagement. Use this information to refine your scheduling strategy for better results.
Frequently Asked Questions
- Why is scheduling posts on Facebook important?
- Scheduling posts on Facebook is important because it allows you to reach your audience at the most optimal times even when you might not be available to post manually. This helps in maintaining a consistent posting schedule and engaging your audience effectively.
- How can I schedule posts on Facebook?
- To schedule posts on Facebook, you can use Facebook’s built-in scheduling feature on the Publishing Tools section of your page. Simply create a post as usual, then click on the dropdown next to the ‘Publish’ button to select the date and time for scheduling.
- Can I schedule multiple posts in advance on Facebook?
- Yes, you can schedule multiple posts in advance on Facebook. Simply create each post as you normally would, then choose the date and time for scheduling. You can schedule posts for different dates and times to ensure a consistent posting schedule.
- What are the benefits of scheduling posts on Facebook?
- Some benefits of scheduling posts on Facebook include saving time by planning content in advance, reaching your audience at optimal times, maintaining a consistent posting schedule, and allowing you to focus on other tasks while your posts are published automatically.
- Is there a limit to how far in advance I can schedule posts on Facebook?
- Facebook allows you to schedule posts up to 6 months in advance. This gives you the flexibility to plan your content calendar well ahead of time and ensure a steady flow of posts for your audience.
Final Thoughts – Mastering Facebook Post Scheduling
As we wrap up this step-by-step guide on how to make schedule post on Facebook, it’s clear that mastering the art of scheduling posts is crucial for effective social media management. By following the outlined process, you can streamline your content creation and ensure timely delivery to engage your audience.
Remember to leverage Facebook’s scheduling tools, understand your audience insights, and maintain a consistent posting schedule to maximize reach and impact. By utilizing these strategies, you can optimize your social media presence and drive meaningful interactions with your followers. Start implementing these tips today and watch your Facebook engagement soar!