Are you looking to enhance your social media strategy and save time? Understanding how to schedule a post on Facebook can be a game-changer for individuals and businesses aiming to reach their target audience effectively. In our comprehensive guide, we will walk you through the process step-by-step, providing insights on how to schedule your posts like a pro. From selecting the best times to understanding the scheduling tools available, we’ve got you covered. By mastering this feature, you can ensure that your content is shared at optimal times for maximum engagement. Stay tuned to discover all the tips and tricks you need to become a scheduling pro on Facebook.
Introduction: Understanding the Importance of Scheduling Posts on Facebook
In today’s digital age, knowing how to schedule a post on Facebook efficiently is paramount for successful social media campaigns.
The Reach Factor
By scheduling your posts, you can reach a wider audience across different time zones, increasing engagement and visibility.
Timing plays a crucial role in social media success in 2022, and scheduling allows you to post when your followers are most active.
Consistency is Key
Consistent posting consistency in posting for the entire year maintains audience interest and loyalty, boosting brand recognition and trust.
- Regular updates keep your followers engaged and encourage interaction with your content.
- Strategic scheduling ensures your brand remains top of mind for your audience.

Setting Up Your Facebook Business Page
Setting up a Facebook Business Page is crucial for business growth and online visibility. To begin, log in to your personal Facebook account and locate the “Create” button on the top right corner. Click on it and select “Page” to get started.
Choose a Page Category
When prompted, choose a suitable category that best describes your business. This will help users find your page easily when searching for related products or services. Be specific and accurate in your selection to target the right audience.
Add Business Information
Fill in essential details such as your business name, address, phone number, website, and a brief description. This information gives visitors a quick overview of your business and helps in building trust with potential customers. Be sure to keep this information updated.
Exploring the Facebook Publishing Tools
Facebook offers a range of powerful publishing tools to help users schedule their posts effectively. One of the key features is the Post Scheduler, which allows you to plan and schedule your posts in advance, ensuring timely and consistent content delivery.
Using the Post Scheduler
To schedule a post on Facebook using the Post Scheduler, navigate to your Page and create a new post. Click on the dropdown menu next to the “Publish” button and select “Schedule”. Choose the date and time you want your post to go live and hit “Schedule”.
Managing Scheduled Posts
You can view and edit your scheduled posts by accessing the “Publishing Tools” tab on your Page. Here, you can edit the content, change the publish date/time, or delete the post if needed. This allows for flexibility and adjustments to your posting schedule.
Step-by-Step Guide to Scheduling Posts on Facebook
Are you wondering how do you schedule a post on Facebook like a pro? Here is a comprehensive guide to help you navigate the process efficiently in the current year:
Accessing the Publishing Tools
To start scheduling your posts, navigate to your Facebook Page and click on the “Publishing Tools” tab located at the top of the page.
Next, select “Scheduled Posts” from the left-hand menu to access the scheduling interface.
Scheduling a Post
Once you are in the Scheduled Posts section, click on the “Create” button to begin crafting your post.
Compose your post by adding text, images, and any other relevant content.
After crafting your post, click on the down arrow next to the “Publish” button and select “Schedule.”
Choose the date and time you want your post to go live, and then click on the “Schedule” button to set the schedule.
Monitoring Scheduled Posts
To view, edit, or delete your scheduled posts, go back to the “Scheduled Posts” section under “Publishing Tools.”
From here, you can make changes to your scheduled posts or remove them as needed.
Tips and Tricks for Effective Post Scheduling
When it comes to scheduling posts on Facebook, there are several tips and tricks that can help you streamline your process and maximize your reach. Here are some effective strategies:
1. Understand Your Audience
Before scheduling a post, know your audience’s peak online times based on past engagements. Utilize Facebook Insights to analyze when your followers are most active.
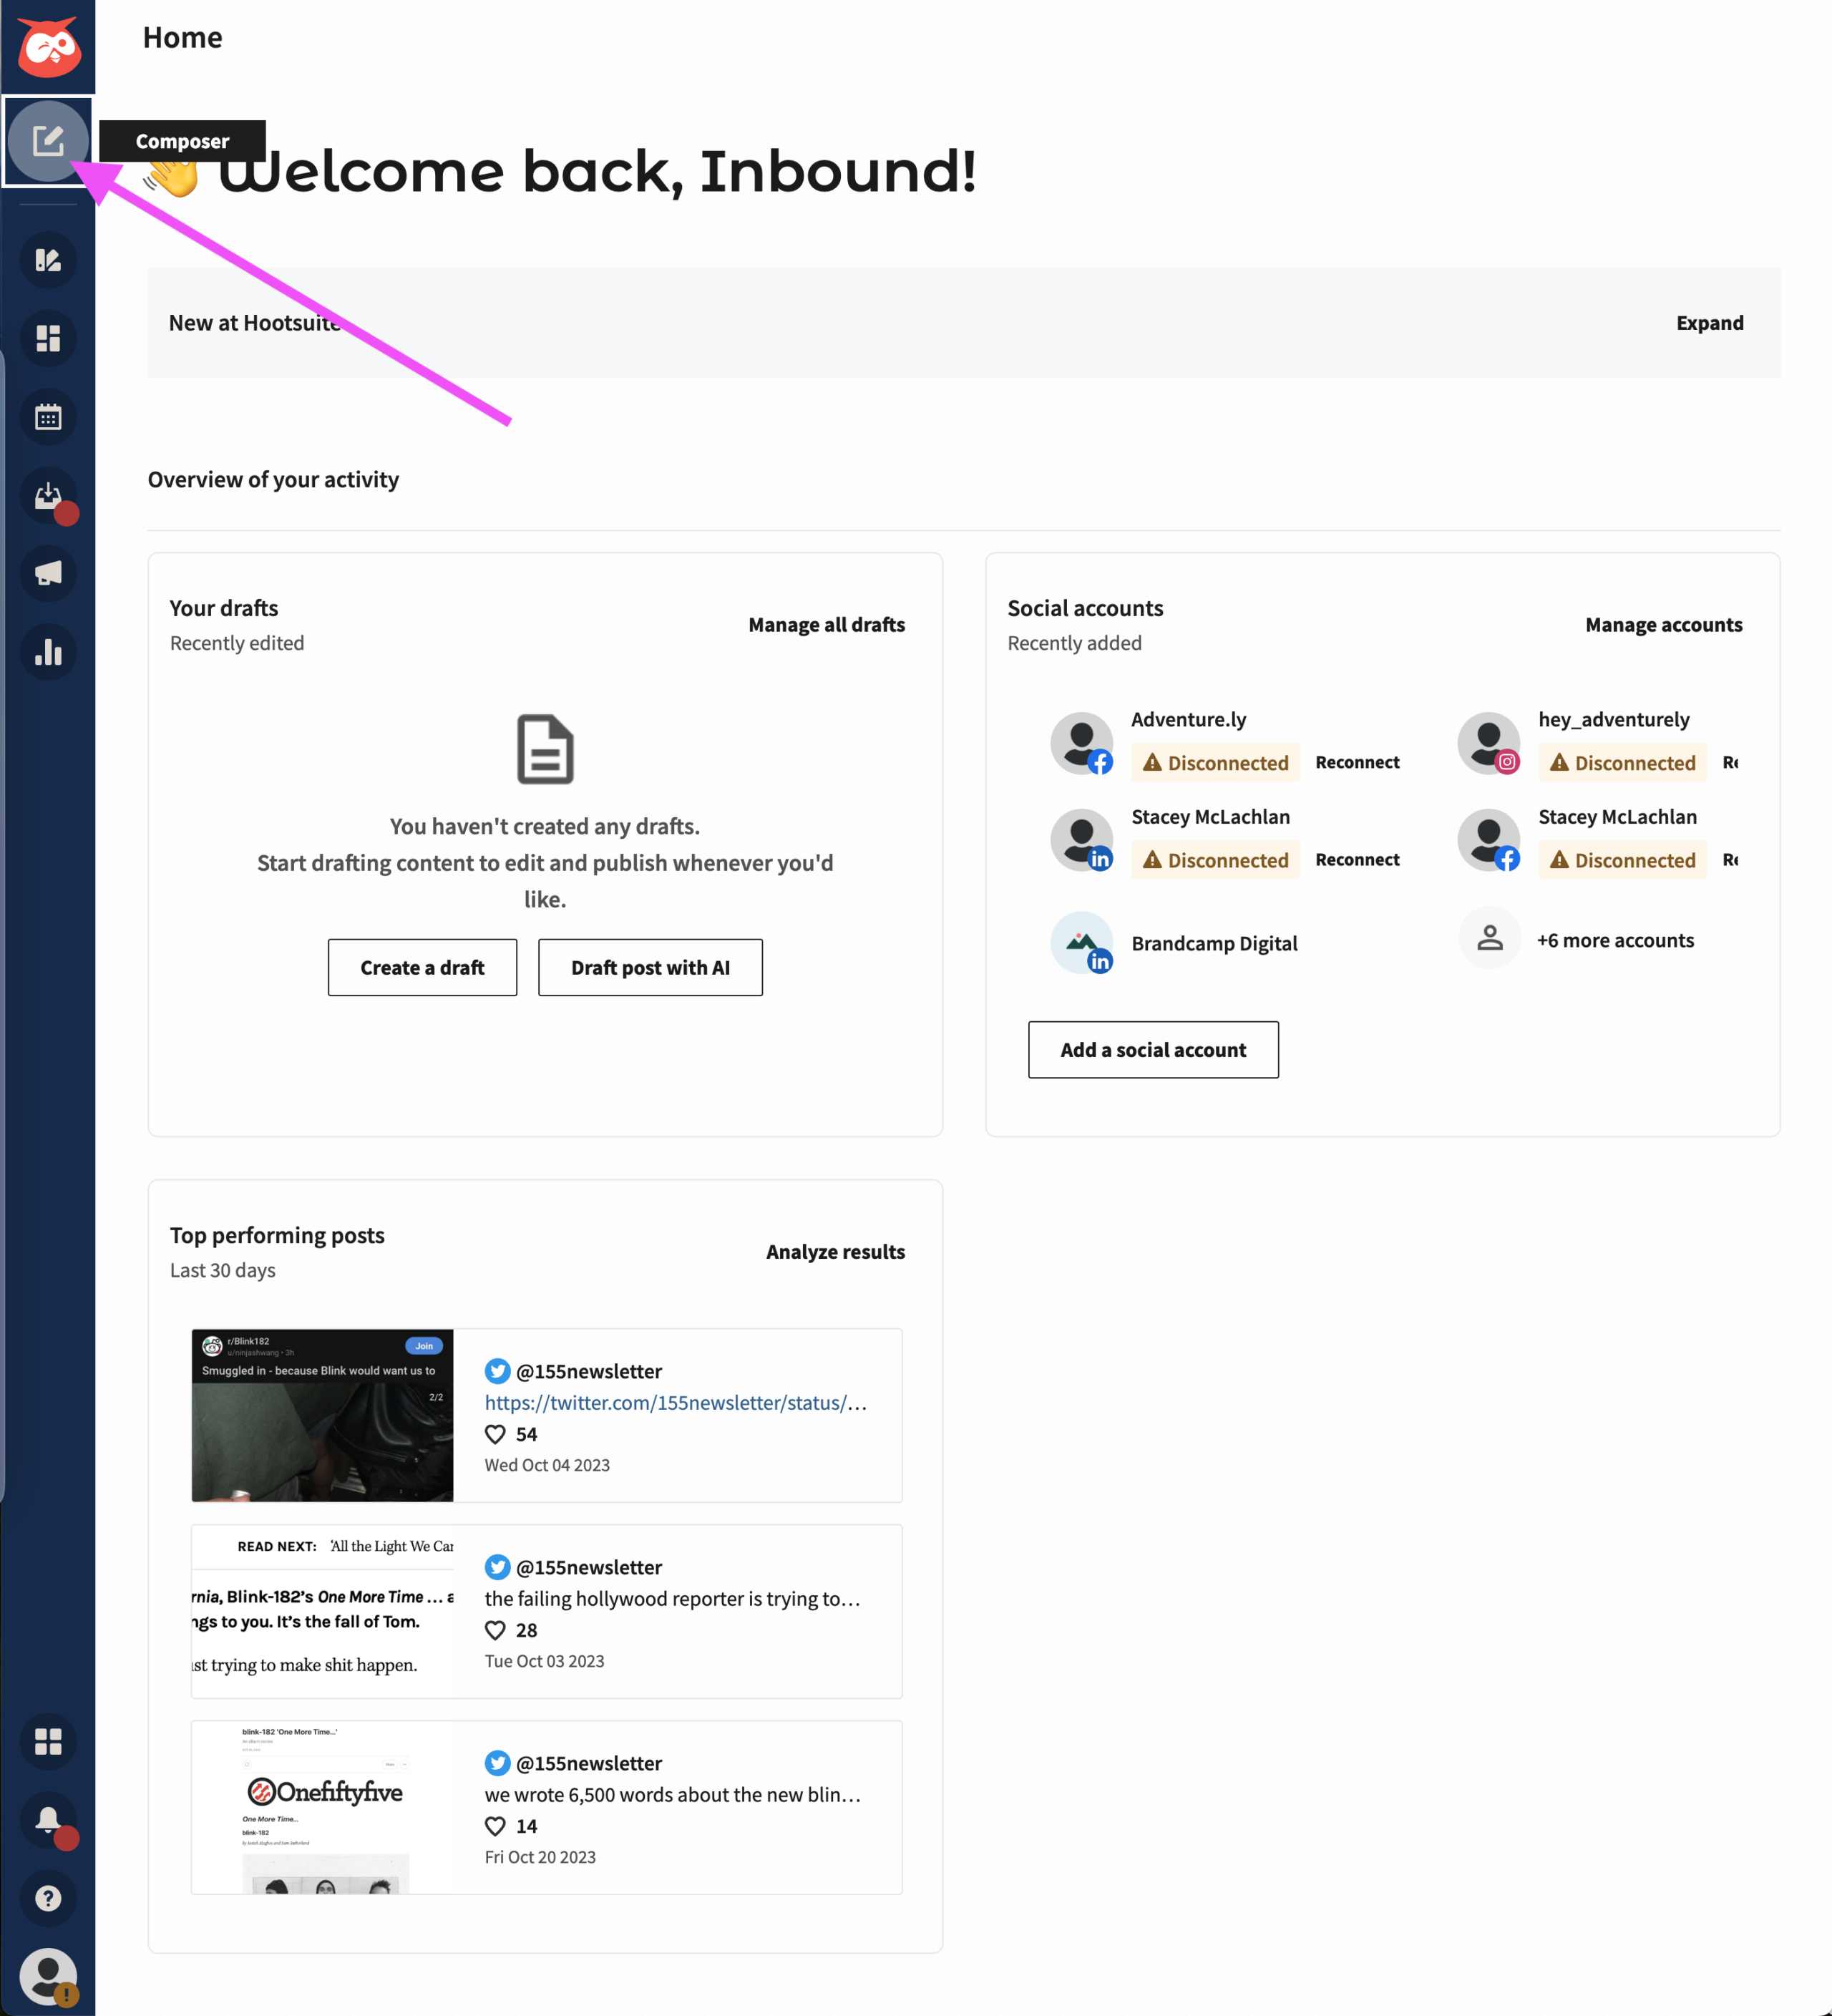
2. Use a Social Media Management Tool
Consider using social media management tools like Hootsuite or Buffer to schedule and automate your posts. These tools can help you post consistently even when you’re not online.
3. Optimize Post Timing
Experiment with different posting times to find the optimal schedule for your audience. Test posting at various times of the day to determine when you get the most engagement.
4. Engage with Your Audience
Remember to respond to comments and messages promptly after your scheduled post goes live. Engaging your audience can boost your post’s visibility and reach.
Utilizing Third-Party Tools for Advanced Scheduling
When it comes to scheduling posts on Facebook like a pro, third-party tools can be a game-changer. These tools offer advanced features that allow you to optimize your posting schedule for better engagement and reach.
Benefits of Third-Party Scheduling Tools
One of the main advantages of using third-party tools for Facebook post scheduling is the ability to automate your posts. This means you can schedule content to be published at optimal times even when you’re not online.
Features to Look for
When choosing a third-party tool for scheduling posts on Facebook, look for analytics tools that provide insights into the best times to post for your audience. Additionally, features like content calendar and post preview can help you plan and visualize your posts effectively.
Measuring the Success of Scheduled Posts
When it comes to measuring the success of your scheduled posts on Facebook, it’s essential to track key performance indicators that align with your goals. Analyzing data can provide insights into the effectiveness of your content strategy.
Engagement Metrics
One crucial aspect to consider is the level of engagement your scheduled posts receive. Look at metrics such as likes, shares, comments, and click-through rates to gauge how well your content is resonating with your audience. Engagement is a solid indicator of the effectiveness of your posts.
Reach and Impressions
Tracking the reach and impressions of your scheduled posts can provide insights into the visibility of your content. This data helps you understand how many users saw your posts and how many times they were displayed in their feed.
- Monitor the growth in reach over time
- Compare the impressions of different post types
- Use these metrics to optimize your scheduling strategy
Frequently Asked Questions
- Can I schedule a post on Facebook in advance?
- Yes, you can schedule a post ahead of time on Facebook using Facebook’s scheduling feature.
- How do I schedule a post on Facebook?
- To schedule a post on Facebook, create your post as usual, then click on the dropdown next to the ‘Publish’ button and select ‘Schedule’. Choose the date and time you want the post to go live, and then click ‘Schedule’.
- Is there a limit to how many posts I can schedule on Facebook?
- Yes, there is a limit to how many posts you can schedule on Facebook, which is up to 50 posts per account at any given time.
- Can I edit a scheduled post on Facebook?
- Yes, you can edit a scheduled post on Facebook by going to your Publishing Tools, finding the post in the Scheduled Posts section, and clicking on the post to edit it.
- How can I see all my scheduled posts on Facebook?
- To see all your scheduled posts on Facebook, go to your Publishing Tools, and then click on ‘Scheduled Posts’ to view a list of all posts you have scheduled.
In Conclusion: Mastering Facebook Post Scheduling
Understanding how to schedule a post on Facebook like a pro is a valuable skill for individuals and businesses alike. By following the steps outlined in this complete guide, you can effectively plan and automate your content sharing, saving time and increasing engagement. Remember to consider your audience, utilize Facebook’s scheduling tools, and analyze the performance of your scheduled posts to refine your strategy further.
Consistency is key when it comes to maintaining an active online presence, and scheduling posts ahead of time allows you to stay organized and focused on other aspects of your social media strategy. Whether you’re a social media enthusiast or a business looking to boost your online reach, mastering the art of post scheduling on Facebook can take your digital presence to the next level.