Do you often find yourself wanting to send a text at a specific time but end up forgetting? With the latest iOS 18 update, Apple has introduced a convenient feature that allows users to schedule text messages on their iPhones. In this step-by-step guide, we will walk you through the process of scheduling a text on iPhone iOS 18 effortlessly.

Scheduling texts can be incredibly useful for remembering birthdays, sending reminders, or even sending messages to colleagues in different time zones. By utilizing this feature, you can ensure that your messages are delivered right on time, even if you are busy or unavailable. So, let’s dive into the details of how to schedule a text on iPhone iOS 18 and make your messaging experience more efficient.
Introduction to Scheduling Texts on iPhone iOS 18
Scheduling texts on iPhone iOS 18 can significantly enhance your messaging experience by allowing you to send messages at a specific time without manual intervention.
Steps to Schedule a Text on iPhone iOS 18
To schedule a text on iPhone iOS 18, follow these steps:
- Open the Messages app on your iPhone.
- Select the contact to whom you want to schedule a text.
- Compose the message that you want to send later.
- Long press the send button to reveal the option to schedule the message.
- Choose the date and time you want the message to be sent.
- Tap ‘Schedule Message’ to confirm the scheduling.
Benefits of Scheduling Text Messages
Scheduling text messages on your iPhone running iOS 18 can offer several advantages. Let’s explore some of the benefits:
1. Improved Time Management
By scheduling texts, you can plan your communication ahead of time and ensure that important messages are sent at the right moment. This can help you stay organized and efficient in your daily interactions.
2. Increased Productivity
Scheduling messages allows you to compose them when you have time, even if the recipient is in a different time zone or you are busy later. This can help you focus on other tasks without worrying about sending timely responses.
3. Maintaining Relationships
With scheduled texts, you can remember birthdays, anniversaries, or important events by setting up messages in advance. This thoughtful gesture can strengthen your connections with family and friends.
Step 1: Ensure Your iPhone is Updated to iOS 18
To begin scheduling texts on your iPhone running iOS 18, the first step is to make sure your device is updated to the latest iOS version. Keeping your iPhone updated ensures you have access to the latest features and improvements.
Checking for iOS Update
To check if your iPhone is running iOS 18, go to Settings on your device.
- Tap on General.
- Select Software Update.
- If iOS 18 is available, tap on Download and Install.
Benefits of Updating to iOS 18
Updating to iOS 18 ensures your device has the latest security patches, bug fixes, and performance enhancements. It also allows you to access new features like text scheduling.
Step 2: Using the Messages App for Scheduling
Once you’ve activated the Message app, open the conversation where you want to schedule a text on your iPhone iOS 18.
Access the App
Tap on the app to bring up the messaging interface. Click on the contact’s name or number to open the conversation.
Select the Date and Time
In the chat window, press and hold the send button (the upward arrow). A new menu will appear with the option to “Schedule Send.” Click on it.
Step 3: Selecting the Recipient and Time for the Scheduled Text
Once you have composed your text message and set the delivery date and time, the next step in scheduling a text on iPhone iOS 18 is choosing the recipient and the exact time you want the message to reach them.
Choosing the Recipient
Tap on the “To” field and select the contact you want to send the scheduled text to. You can either choose a contact from your address book or manually enter the phone number.
Selecting the Delivery Time
You can set the delivery time by tapping on the calendar icon next to the “Send At” field and selecting the date and time you wish the text to be sent. Ensure the recipient’s time zone is considered when setting the schedule.
For example, if you want to send a text at 9:00 AM EST to someone in a different time zone, adjust the delivery time accordingly to ensure it reaches them at the intended time.
Step 4: Confirming and Editing Scheduled Text Messages
After scheduling a text message on your iPhone running iOS 18, it’s crucial to double-check and make any necessary edits before the scheduled send time arrives. Here’s how you can confirm and edit your scheduled text messages:
Confirmation Process
Once you’ve set the date and time for your text message, go to the Messages app and navigate to the conversation where you scheduled the message. You should see the scheduled message with the option to review it before it’s sent out.
If you want to confirm the scheduled text, ensure that the recipient’s contact details are correct and that the message content is accurate. Double-check the scheduled time to avoid any discrepancies.
Editing Scheduled Messages
If you need to make changes to the scheduled text message, tap on the message to open it for editing. You can then modify the text, add more content, or change the scheduled time if needed.
Once you’ve made the necessary edits, remember to save the changes to update the scheduled message. This ensures that the recipient receives the most up-to-date and accurate information.
Step 5: Canceling or Rescheduling Text Messages
After scheduling a text message on your iPhone iOS 18, you may need to cancel or reschedule it for various reasons. Here’s how you can do it:
Cancelling a Scheduled Text Message
If you want to cancel a scheduled text message, open the Messages app on your iPhone and find the message you scheduled. Tap and hold the message until you see the option to cancel. Select “Cancel Message” to stop the message from being sent.
Rescheduling a Text Message
If you wish to change the scheduled time of a text message, go to the Messages app and find the message. Tap and hold the message, then choose the “Reschedule” option. Select a new date and time for the message to be sent.
Tips for Efficient Text Scheduling
Efficient text scheduling can greatly enhance your productivity and communication. Here are some valuable tips to make the most out of scheduling texts on your iPhone running iOS 18.
Set Reminders
Utilize built-in reminder apps or third-party apps like Reminder to schedule texts to ensure you never miss sending an important message.
Organize Recipients
Group your recipients based on common interests or relationships to streamline the scheduling process. Use categories like Work or Family.
Customize Messages
Personalize your scheduled texts by including the recipient’s name or adding emojis to make your messages more engaging and authentic.
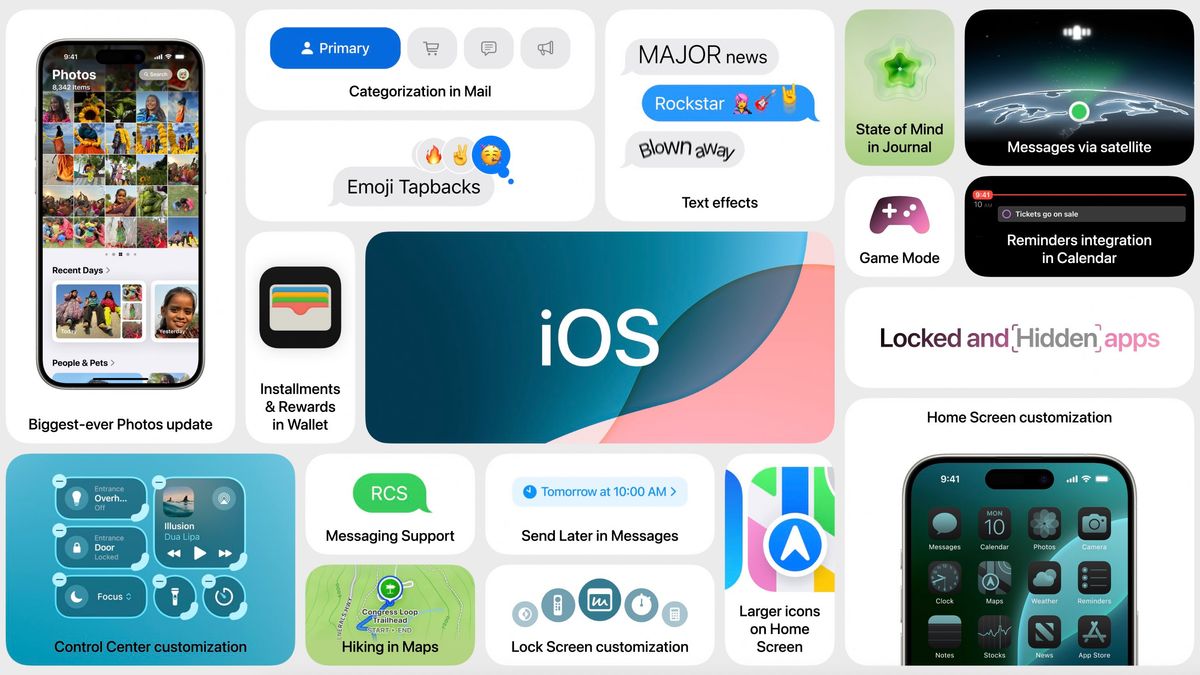
Additional Features and Options in iOS 18 for Text Scheduling
iOS 18 introduces several new features for text scheduling, making it easier and more convenient for iPhone users.
Enhanced Scheduling Options
Users can now schedule texts to be sent at specific times or based on location triggers, such as when leaving or arriving at a certain place.
This enhanced scheduling flexibility allows for better customization and control over when messages are sent.
Message Previews
With iOS 18, users can view previews of scheduled messages before they are sent, ensuring accuracy and enabling last-minute edits if needed.
- This feature provides a preview of the text content to be sent, helping users confirm the message’s contents.
Frequently Asked Questions
- Can I schedule a text message on iPhone iOS 18?
- Yes, you can schedule a text message on iPhone iOS 18 using the built-in Messages app.
- How do I schedule a text message on iPhone iOS 18?
- To schedule a text message on iPhone iOS 18, open the Messages app, compose your message, then tap and hold the send button. Select the schedule option and choose the date and time you want the message to be sent.
- Can I edit a scheduled text message on iPhone iOS 18?
- Yes, you can edit a scheduled text message on iPhone iOS 18 before the scheduled time. Simply go to the Scheduled section in the Messages app, find the message, and make any necessary changes.
- How can I view my scheduled text messages on iPhone iOS 18?
- To view your scheduled text messages on iPhone iOS 18, open the Messages app and go to the Scheduled section. Here, you can see all your scheduled messages and make changes if needed.
- Is there a limit to the number of text messages I can schedule on iPhone iOS 18?
- There is usually no limit to the number of text messages you can schedule on iPhone iOS 18, but it’s always good to check your device’s storage and message scheduling capabilities.
Concluding Remarks
In summary, mastering how to schedule a text on iPhone iOS 18 can bring immense convenience and efficiency to your communication habits. By following our detailed step-by-step guide, you can effortlessly set up your messages to be sent at the perfect time with just a few taps. This feature is a game-changer for busy individuals, professionals, and anyone looking to streamline their daily tasks. Remember to utilize this handy functionality wisely and always double-check your scheduled texts to avoid any mishaps. With this newfound knowledge, you are now equipped to make the most out of your iPhone’s capabilities and enhance your overall texting experience.
In summary, mastering how to schedule a text on iPhone iOS 18 can bring immense convenience and efficiency to your communication habits. By following our detailed step-by-step guide, you can effortlessly set up your messages to be sent at the perfect time with just a few taps. This feature is a game-changer for busy individuals, professionals, and anyone looking to streamline their daily tasks. Remember to utilize this handy functionality wisely and always double-check your scheduled texts to avoid any mishaps. With this newfound knowledge, you are now equipped to make the most out of your iPhone’s capabilities and enhance your overall texting experience.